Showing posts with label 70's Bungalow. Show all posts

Tuesday, July 23, 2013

Grey Scale: Powder Room


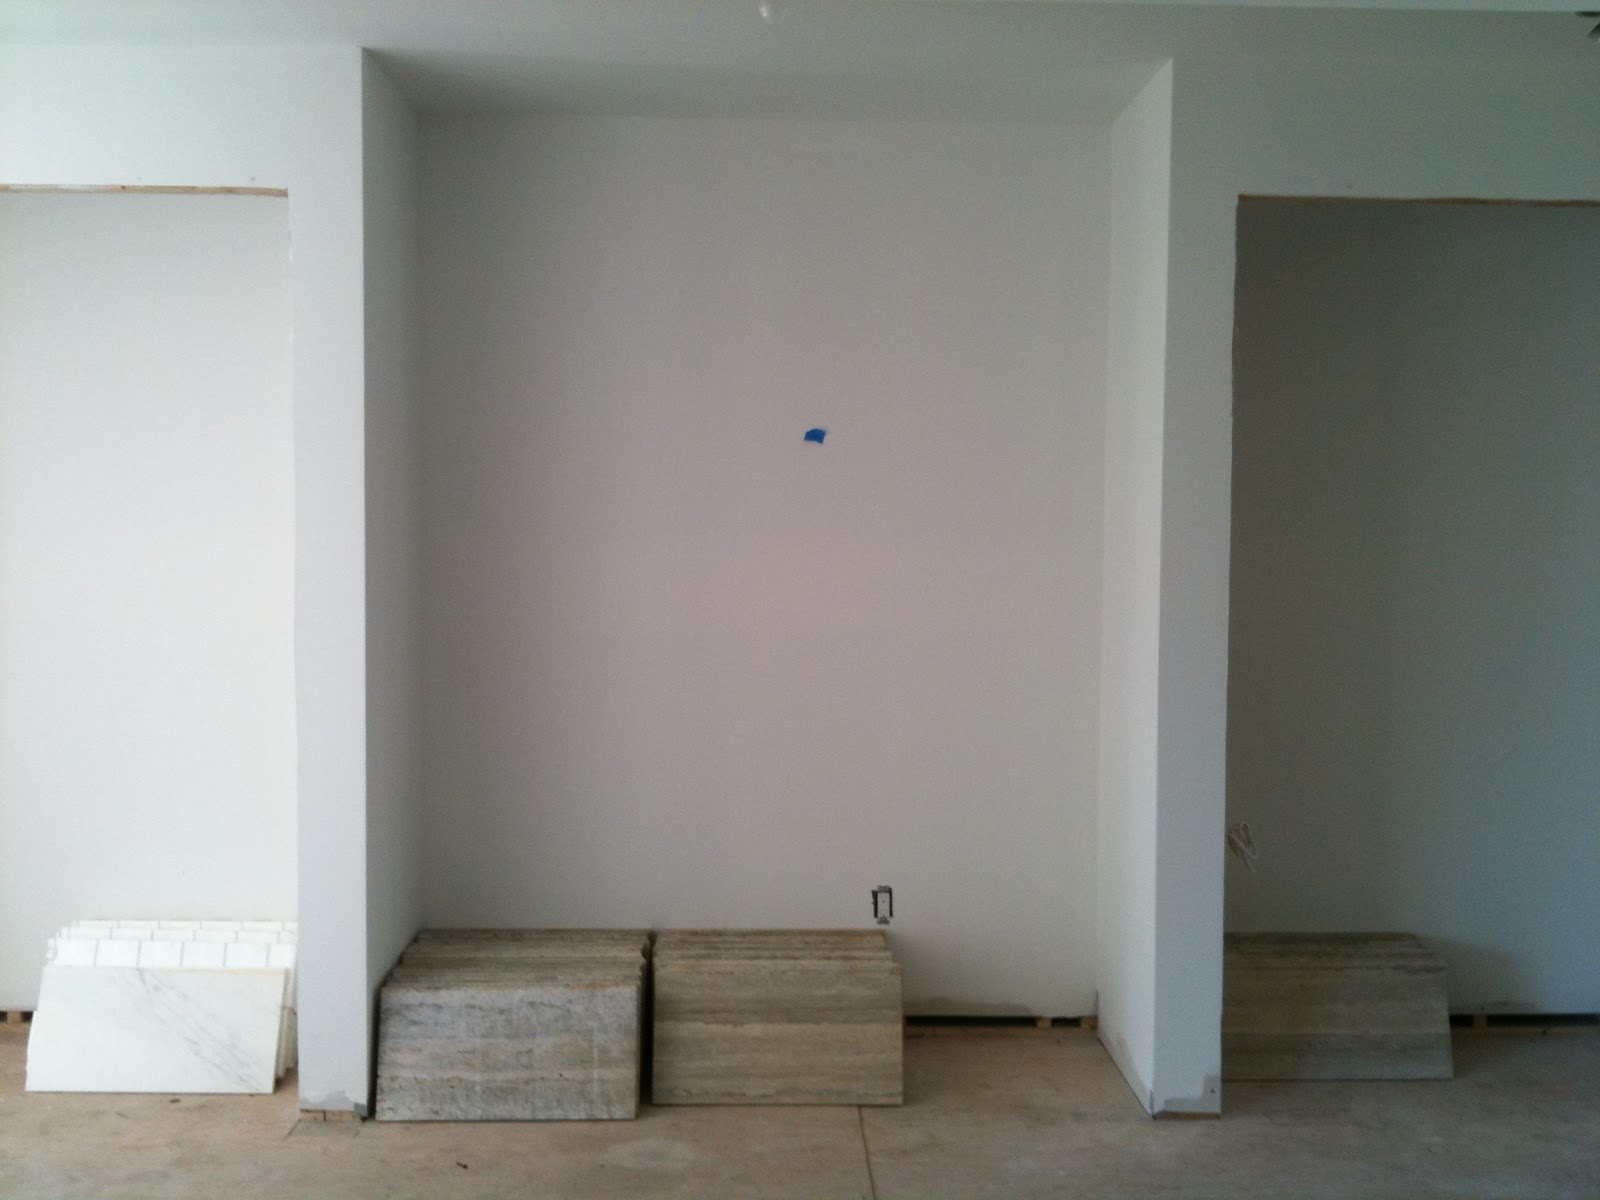
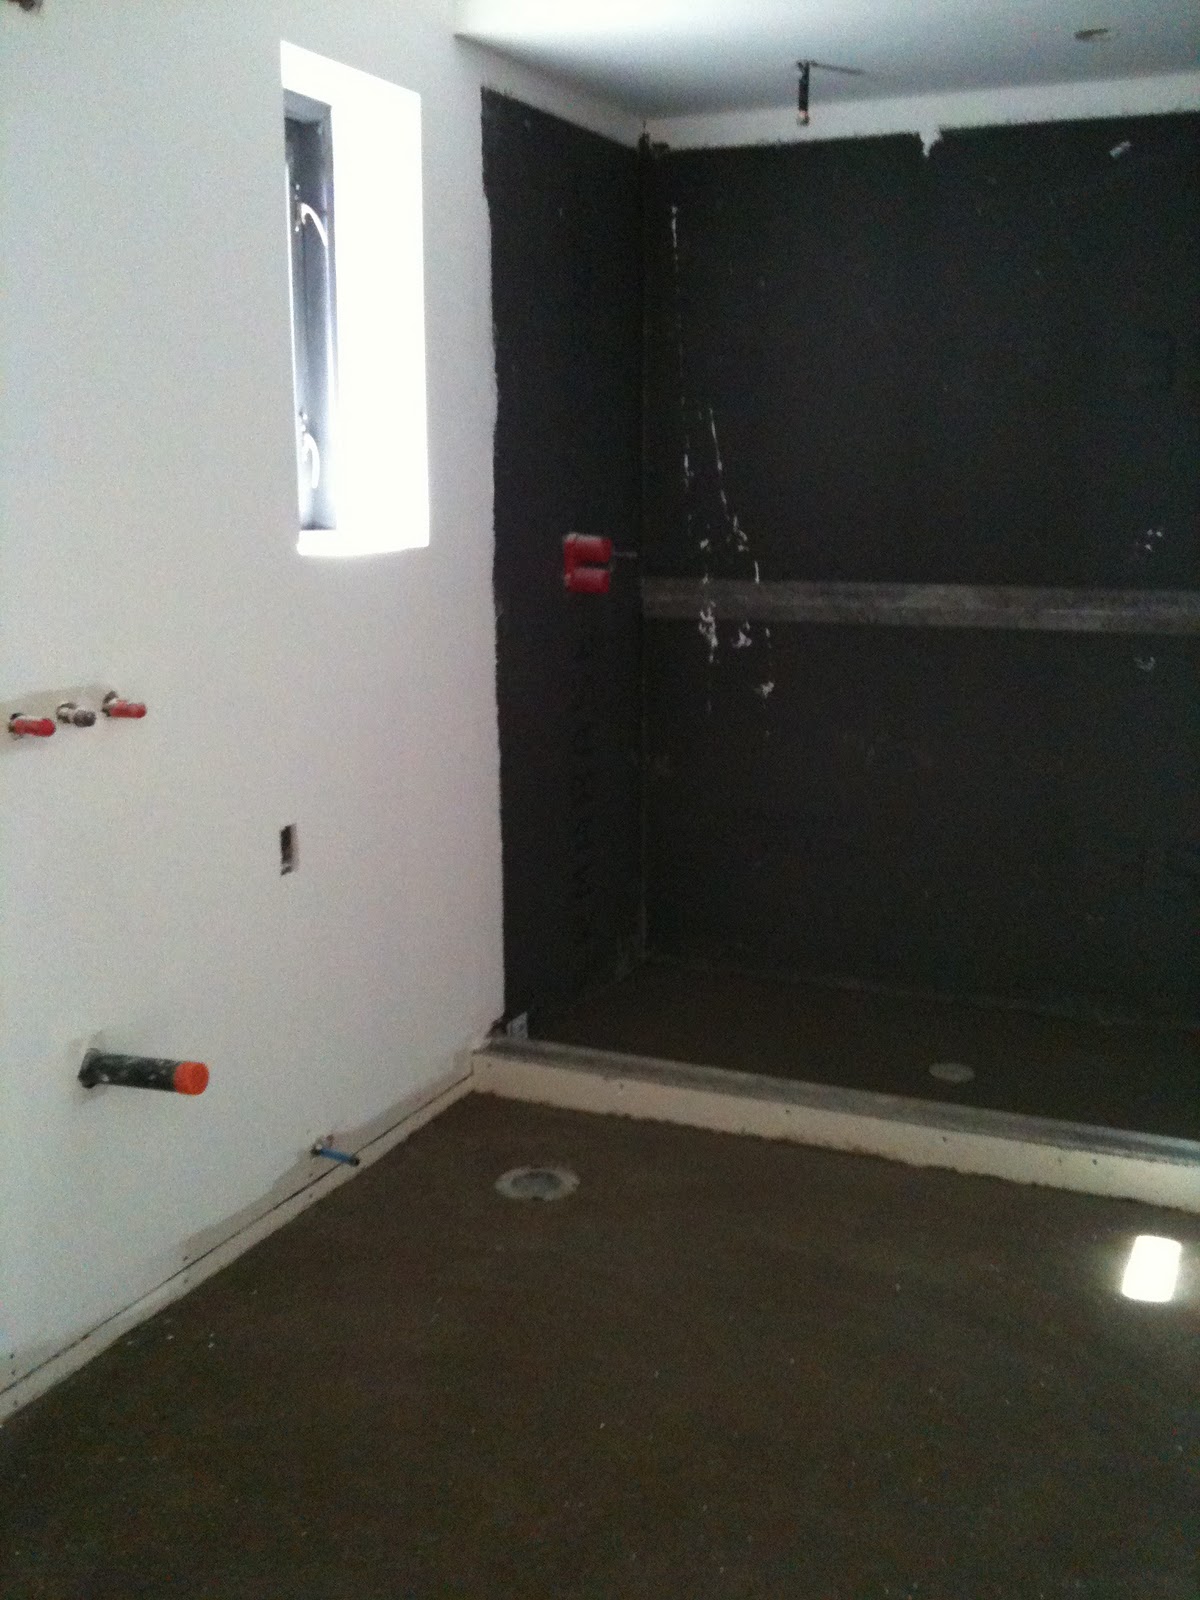
Clients powder room in various stages of progress.


I was sorting through room photos of past projects and came across these images of a powder room from a recent renovation, the 70's Bungalow project.  It dawned on me that I hadn't ever posted any photos of this room before, probably because its just such a difficult room to capture without a wide angle lens.  Like the entire house this room underwent a complete gut so we started with a clean slate - dark grey slate in fact which I chose as a wall colour for the small room.  


Small rooms are the perfect spaces to play up drama and scale - whether its a large print wallpaper, deep paint colour or graphic floor pattern, going bold will have lots of impact and kick the wow factor up a notch for your guests when they excuse themselves to powder their noses. It makes the entire experience a little more special.  : )    The drama in this little room doesn't come from the colour, its neutral in that sense but the walls are deep and dark and quite a departure from the rest of the home's all white modern interior.  The large calacatta marble floor tiles have beautiful dramatic veining.   


A bevelled tray mirror adds some elegant sparkle to the dark room but the floor to ceiling bare grey wall was crying out for a piece of artwork and I wanted large scale.   What I had completely forgotten about until I came across these room photos the other day was that we had one of my own photographs framed and hung on the wall.   For this room it was an affordable alternative to what would have needed to be a very large  original piece (or a smaller pair) of art.  I sent my file to Elevator Digital and once again, Kevin worked his magic on it to make sure when it was enlarged that the image quality was maintained and then the print was beautifully matted and framed.

The photo chosen was from a series I took of buildings on Wall Street when I was in NYC two summers ago. The homeowners have both travelled to NY for business over the years and now have a son who lives in Manhattan, they're pretty fond of the city and were quite taken with many of my architectural photos.   Its hard to tell from this not so great snapshot but the size of the framed piece is over 3' wide and over 4' tall.  Its not actually a black and white image but the colours are all monochromatic greys that it reads that way.  My favorite thing about this photo is the perspective,  its so dynamic that it brings an amazing sense of depth to the room. 


There's been lots of finishing touches and a massive landscaping overhaul happening at this house over the past year so they'll be more after photos coming soon.


Room Design and all Photos By:  Carol Reed


Tuesday, October 4, 2011

70's Bungalow: Makes A Modern Impression


70's Bungalow with new front facade and door (new landscaping still to come!)

As you approach this door,,,,you can almost hear it say "Welcome! Let me introduce you to my stylish homeowners who will so graciously invite you into my warm modern interior......please come in...".   Its a far cry from what this front door used to say....


"Come in if you dare".  Front Door before.

When I began working on the 70's Bungalow project over a year ago I immediately saw such huge potential for the exterior.  What I disliked about the exterior of the house was its horrid fleshy peach coloured stucco (that's an understatement!) and its white vinyl slider windows. What I loved most about the exterior of this house were its lines, it had great long horizontal lines.  Everything about these lines screamed modern to me, they were just wanting to be heard.


To begin the transformation of the dated exterior the chunky traditional plaster mouldings were removed from around all the windows.  Next a new roof, and windows were installed.  Then new black aluminum windows were custom designed with an asymmetrical mullion detail. I had the front door and sidelite reversed (from the original positions) so the handle side of the front door wasn't up against the adjacent wall.  New lighting locations were roughed-in and finally a new dark grey stucco was applied to the entire exterior and the new eaves and soffits were fit into place.


The new look is monochromatic and distinctly contemporary.  I chose a black shingle for the roof and a dark warm grey not only for the facade of the house but for the eaves and the soffits too, I wanted these elements to blend in with the body of the house rather than be in contrast.  Not chosing white tones for the aluminum work created this monochromatic effect and emphasizes the expanse and volume of the house, not breaking it up with contrasting trim.   What I envisioned as the highlight of the exterior would be the front door.  All of this sophisticated grey and black was the perfect setting....


For a beautiful, solid, natural wood door.  The wood tones are a striking feature against the grey exterior and gives a strong presence to the entry.  Because the door location is a bit unconventional in that it doesn't face the street, (its positioned sideways/perpendicular to the street), it could easily disappear and become very nondistinct.  But I didn't want that - I like a house to have a definitive front entry that's distinguishable and also sets the tone for the interior beyond, even if its understated.  I talked the homeowners out of both a glass door and a painted door option.  I wanted to make sure this new door was in no way mistaken for a window or have the less important look of a side door.  Designing a new custom front door wasn't part of my original scope of work but as we discussed all the design details for the windows with the contractor the door design was created on the spot.  Oh how I love to hear the words "we can make anything you want, just tell us what you'd like".  So I did, and.....they did.  To finish it off on a truly collaborative note, the homeowners selected the new light fixture and mailbox. I approved.


After waiting months and months for the new door to be delivered - the homeowners and I unanimously declared it was worth the wait!  (the colours are a little off in the photo above).  Next year they'll begin the landscaping redesign which will include new stonework for the front entry area and a  new cladding treatment for the stone planters.  So please ignore all the landscaping (or lack of) in these photos as the grounds have remained unchanged to this date.   As for the interior, all construction work has finished up and we are currently working on all the window coverings and artwork.


Previous posts on this project:


All Photos:  Carol Reed

Saturday, May 14, 2011

70's Bungalow: Progress 3


Finishing details are taking place at the 70's Bungalow project.  It's truly my favorite part of the process seeing all the custom elements being perfectly fit into place and witnessing the entire house transform as fresh paint is applied and new millwork is installed.   Its the custom details and thoughtfully coordinated specifications that distinguish a well designed home from your average Developer's build or DIY renovation.  Only with hands-on involvement and the direct supervision of an Interior Designer is this quality of detail possible on a project.  Just having the plans or the ideas for specific design details is not enough,,,,,,communicating directly with the fabricators and installers throughout the process is critical in order for it to come together properly and effeciently.  With this interior nearing completion,  I've been on site almost daily giving instruction and direction as the finishing details are coordinated amongst several different trades and installers, if just one element is wrong its a domino effect of very expensive mistakes.    


A custom double sink, floating vanity with matched horizontal veneers was installed in the master ensuite.  The faucets will be wall mounted into a calaccatta slab backsplash which disappears up behind a custom floating full height mirror with sconces mounted on top of the mirror.  The desired effect is all about simple, clean modern lines but the amount of coordination required to get all these elements perfectly aligned and installed is anything but simple.  For this one vanity I had to meet with the rough carpenter, the plumber, the electrician, the cabinet maker, the cabinet installer, the marble supplier and the glazing contractor, each separately and on different visits.   The junction boxes for the sconces have been moved twice, the vanity re-installed once.  Finger's crossed the rest of it goes smoothly


Slabs of calaccatta were selected for the countertop and shower jambs to try and match the large calaccatta floor tiles.  This beautiful section of the slab was specifically chosen for the soap niche in she shower and you can see how perfectly the fabricator matched the veining, its like a piece of art.


We had the large floor tiles cut down to small 2" x 2" tiles for the shower floor so we would have consistency in the marble colouration and veining.  Freshly painted walls await towel bars and artwork...


The custom vanity in the guest bathroom awaits its new Caesarstone countertop and undermount sink.  The walls and trim are ready for paint.


The kitchen cabinetry with beautifully matched select veneers has been perfectly fit into place.  


Counter depth appliances with custom front panels create a truly integrated look.


Crisp white paint is applied in all the common areas and living spaces.


There's simply no other wall colour that I react stronger to than Cloud White, it takes my breath away every single time, every single house I see it in, its eatheral.  The newly painted interior was the turning point in the transformation, instantly the spaces looked fresh and modern and sophisticated all at the same time.


Invisible hinges and automatic light switches are meticulously routered into the front closet door jambs.


Flat cut walnut veneer gives a beautiful furniture quality to the closet doors, the wood grain is simply stunning I'm almost afraid to put handles on them...


The rest of the interior doors have been installed and painted and the pair of rolling doors are almost ready to go up (on the left).


This stainless steel rolling track hardware has been a mini project all on its own but the master trim carpenter has patiently figured it all out with a little help from me and a few espressos.


Non-custom cabinetry was installed in the laundry room, the new counter, stainless steel backsplash and sink will be installed next week.  (That's a blue protective film on top of the door fronts right now).  Although the cabinetry units themselves were ready-made, the installation details are fairly customized, I worked one on one with the installer to explain how every component was to be cut/installed.


The only other non-custom piece of cabinetry in the house is the Powder Room vanity, a freestanding unit with a furniture look. The walls have now been painted the sconces are up and the mirror is ready to be hung.  Almost ready for guests....


The exterior of the house is undergoing a dramatic transformation. In addition to a new roof, the old windows and chunky mouldings have been replaced with modern aluminum windows. The entire house has received a new smoother stucco finish in a deep warm grey (not as brown as it looks in this photo).


New soffits and eaves being installed and finally the temporary front door will soon be replaced with a gorgeous custom wood door - its arrival will signify the complete modern transformation of this dated facade.


Next week its all about the eye candy: marble counters, backsplashes, stylish faucets and stunning light fixtures.  I can hardly wait.... 


For previous posts about this project including the before pictures, design plans and sketches, check out the links below:


All Photos:  Carol Reed

Saturday, April 9, 2011

70's Bungalow: Progress 2


The tile work is almost finished and the hardwood has just started to be installed.  The finish carpenter is on site prepping doors and getting ready to install the base mouldings and door casings.  And the custom kitchen cabinetry arrives this week for installation,,,,,,I'm sooooo excited to see it!!!   I stopped by the job site earlier today to drop some more paint samples off for the Master Bedroom and was thrilled with the progress since I was there earlier in the week and since my last progress post.   The travertine tile has gone up on the Living Room fireplace wall and I LOOOOOVE it (above photo).


The guest bathroom tile is just about ready to be grouted, they have to just finish off adding a Caesarstone jamb around the inside of the window, you can see a small piece of it on the window sill now that the tiler was using as a spacer.  The grid line effect will disappear once the grout is applied.


You can just see a glimpse of the honed travertine floor tile.


Honed calacatta floor tiles in the master ensuite and paint draw downs on the wall.  Wall tile goes up on Monday (where you see the black backer board).  You can check out the design sketches and finish boards for the bathrooms here.


The powder room has polished calacatta floor tiles and I can tell you the wall paint, is NOT going to be the bottom sample : ).


The natural walnut floors were installed in the kitchen and family room yesterday, here's a look at the range wall which is ready for the cabinets and appliances.  I love how the space is flooded with daylight.  For over six months now I've had a clear vision of what this kitchen will look like when its complete but if you want a 'sneak peek' you can check out the kitchen design plans here.


A view into the kitchen from the family room.  If you look close you can see a couple of paint draw downs on the left wall inside the kitchen,,,and I'm happy to say the perfect shade of white has been selected (we'll be painting all the main living areas and hallways white).  Although I have to say, the primer the painter used on this job is the nicest colour of white primer I've ever seen, I would be perfectly happy with that as the wall colour it was really that good - I'll definitely be getting the name of it.


Another view into the kitchen from the family room at the back of the house, I love how you can see the Living room's travertine fireplace in background.


Details make the difference.


My favorite thing on the entire project,,,,are these walnut veneer doors.  They arrived earlier this week and the wood veneer is simply stunning!!!!  Even now in their unfinished state you can see the sheer beauty of the walnut grain, its like a work of art.   This character and depth of colour will be accentuated even more when the clear top coats are applied.  What you're seeing here is only the top half of the door, there's four doors altogether, bookmatched, and they'll be hung in pairs on the two closets in the front hall.


Stay tuned for lots more progress updates in the days and weeks ahead.


All Photos:   Carol Reed


Friday, April 1, 2011

70's Bungalow: Progress


The most exciting phase of the 70's Bungalow redesign has FINALLY arrived!  Last week the newly drywalled interior received two fresh coats of primer and this week, the tiler's are onsite installing the tile floors and walls in the bathrooms, laundry room and entryway.  For the next 4 to 6 weeks it will be like Christmas day every day at the house with new finishes, fixtures and cabinetry arriving one after the other.....all of the things I've been planning and detailing for the past 8 months!!  


A recap of what the house looked like before demolition started.  Check out this post for an overview of the before floor plan and the new proposed floor plan. 


The above photo was taken from inside the front hallway facing the entry.  A new front door will be one of the last things installed.  You can see a glimpse of the new windows that were installed last month.  The living room is to the left of this view, this opening into the LR was altered to make it symmetrical, taller and I had the wall beefed up to make the opening more substantial.  On the right you can see a pair of double closets.


The pair of closets were designed to be symmetrical and centred on the hallway and the opening to the large living room area.  In between the two closets is an alcove that will have a bench or, a console and a bench with a large mirror.  On the ceiling centred in front of this area will be a modern semi-flush chandelier.  These closet doors will have the only custom doors in the house, a pair of natural walnut veneer flush panel doors.


Opposite the entry into the living room is the partially re-modeled fireplace.  I'll post more on the firepalce redesign in an upcoming post.


New aluminum windows were installed throughout the house, and finished in a custom black colour.  They have clean drywall returns, no casings.  This view is the end wall of the long dining room.


Perhaps the biggest transfomation is this once knotty pine sunroom.  It was an addition to the house sometime in the 80's.  We eliminated all the wood panelling  and a row of skylites on the angled ceiling and replaced all the windows added heating/cooling ducts.  One wall of windows (on the immediate right of this view) was closed up to provide wall space for a large screen TV and the exterior brick wall separating this room from the kitchen was opened up.  This will be now be used as a family room and is open to the kitchen.


After entering from the front hall of the house, you turn left to go down the secondary hallway leading to the bedrooms.   The large opening on the left will be a home office/library (for her) and occassional guest bedroom, at the end on the left is the laundry/mud room and access to the garage).  The first door on the right is the powder room, further down on the right is the den (his office) at the end is the principal bedroom.  All the doors except the laundry room will be single panel framed sandblasted glass doors.


The Mr of the house will use the den as his office, the room's existing brick wood burning fireplace is undergoing a complete overhaul, the stepped back mantel was removed and all the odd angles were cleaned up by cladding the upper mantel and sides in flush drwyall from floor to ceiling.  I had them frame in a recessed niche made for a flat panel TV.  I'll post more on this fireplace redesign later...


This is called the "Library" and will be 'Her' home office.  Custom built-ins are being made for the wall on the left and also the recessed area just out of view on the right. To the right is an ensuite washroom...


A small ensuite guest bathroom has a low soaker tub/shower combo and will get a custom vanity.


The dressing area in the Principal Bedroom, there will be wall to wall wardrobes on the left, a custom walnut tallboy under the window,,the ensuite bathroom is thru the door on the right.


The master ensuite has been completely relocated, it will have a large walkin shower with a frameless glass screen and a custom double sink floating vanity.  Its well on its way to becoming a vision of modern simplicity dressed in calacatta marble, zebrano wood and glossy white.  Here's a previous post on the bathroom design plans and finishes.


Doesn't look like much now, but this will soon be a slick laundry room with high gloss cabinets and stainless steel mosaic backsplash.  This laundry room was relocated from the back of the house, originally adjacent to the kitchen, its now located with direct access to the garage (w/recycling centre) and serves as a mudroom/laundry room.


I'm looking forward to seeing the completed tile work next week, I'll be onsite overseeing the paint drawdowns and making the final colour selections with the homeowner, by 'colour' I mean white and tinted greys. : )


All Photos:  Carol Reed

Related Posts Plugin for WordPress, Blogger...